Hyper V
Created: 2018-10-18 15:17:36 -0700 Modified: 2021-09-21 10:08:12 -0700
Checkpoints
Section titled “Checkpoints”Checkpoints are what Hyper-V calls snapshots; they’re the full state of the VM at some point in time.
Stream tips
Section titled “Stream tips”Until I get a different ISP, this is what I’ll have to do to make sure I don’t drop frames:
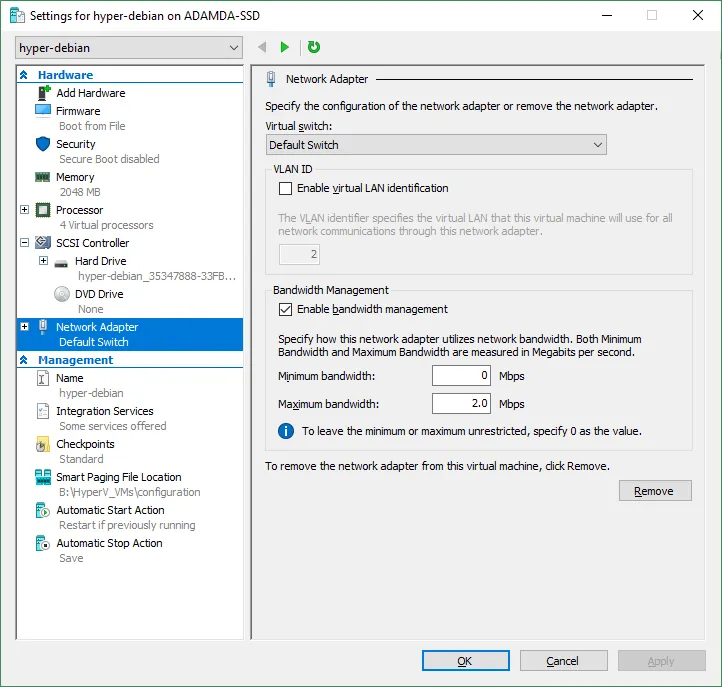
Alternatively, MrSilverMatch suggested that I look into Wondershaper for Linux (reference).
Virtual switches
Section titled “Virtual switches”To use your host’s network, you’ll need to set up a virtual switch that uses the external network (reference). At least for me, my normal IP addresses are “192.168.1.x”, and a virtual switch is what gives me IPs in that range.
To test if this is working, I just do “python -m http.server” in the VM and then try connecting to 192.168.1.x:8000 from the host. I had an issue one time where I couldn’t connect to Filezilla Server that turned out to be Windows Firewall blocking the connection, so testing with Python was helpful. To fix the Filezilla Server issue, I went to “Allow an epp through firewall” in Windows settings and manually added “Filezilla Server.exe”
Getting the IP address of a machine
Section titled “Getting the IP address of a machine”- Right-click the machine in Hyper-V
- Choose “Connect”
- Open a terminal
- Type “ip address”
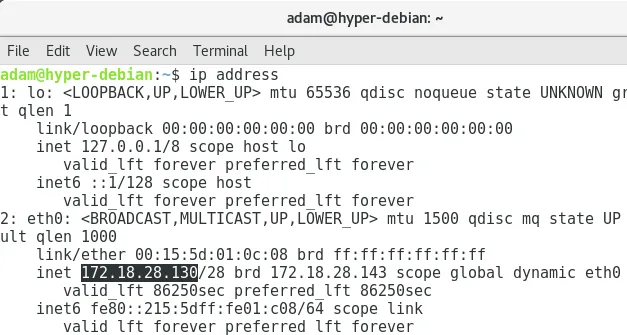
If DHCP is set up, then the machine will get the IP address from Hyper-V. You can check this by doing ”$ ps auxf | grep dhcp”. If you don’t want the IP address to change, you can set up a static IP address on the instance itself (reference) (i.e. this is not done through Hyper-V).
Making a new Debian machine
Section titled “Making a new Debian machine”I did “Quick Create” in Hyper-V and then chose a local installation source (the Debian ISO that I’d downloaded). No need to set a domain name, and all of the default partition options are fine. The only “non-obvious” modification I made was to check the “SSH server” option later in the install.
Remember: “ip address” will give you your local IP address so that you can SSH.
When done, see the “stream tips” section.
Allowing remote desktop (mstsc) to a Hyper-V guest VM (reference)
Section titled “Allowing remote desktop (mstsc) to a Hyper-V guest VM (reference)”Just enable Remote Desktop and set a password using the instructions below:
- Windows key → Remote Desktop settings → Enable Remote Desktop
- Settings → Add, edit, or remove other users → Accounts → Sign-in options → Set a password for your account
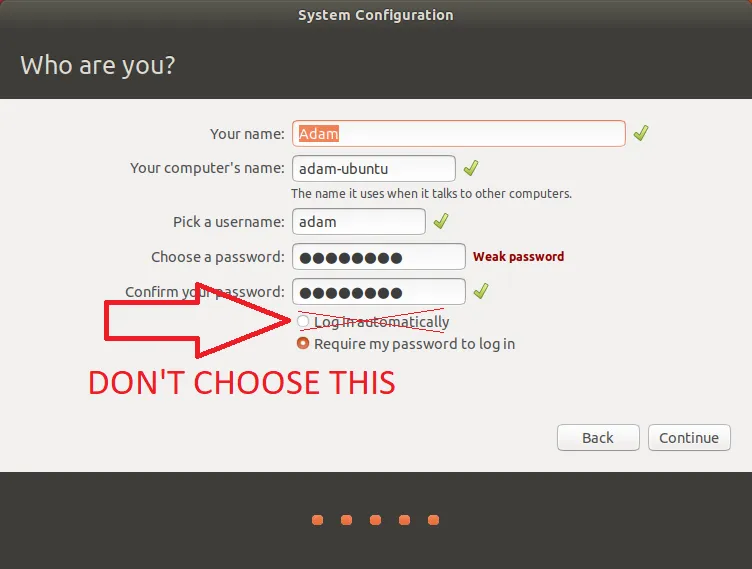
Making a new Linux machine
Section titled “Making a new Linux machine”DO NOT SELECT AUTOMATIC LOGIN IF YOU DO THE STEPS BELOW (reference). You’ll get stuck in some XRDP login loop.
This is actually super easy thanks to Actions → Quick Create. You just choose Ubuntu and click “Create Virtual Machine”. It downloads the ISO of Ubuntu (~1.5 GB) for you (if it didn’t already download it once) and then sets up the VM. The automatic post-download process takes about a minute, then you’re prompted with some basic questions (name, username, timezone, etc.). Again, do not choose “log in automatically”.
Even without that option, I still got stuck in the XRDP loop, so I’m giving up.
When done, see the “stream tips” section.
Troubleshooting
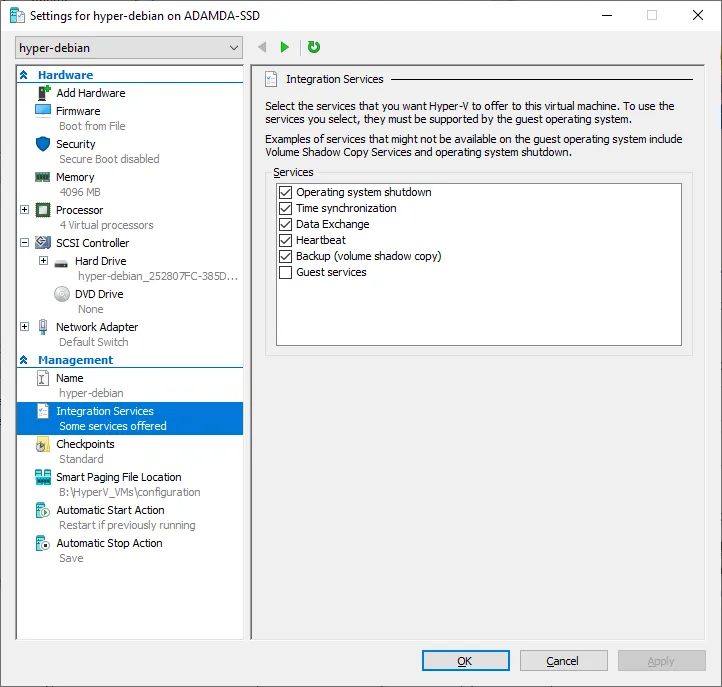
Section titled “Troubleshooting”Time drift
Section titled “Time drift”I ran into an issue where some very straightforward code was resulting in a negative elapsed time, e.g.:
const startTime = Date.now();// synchronous code hereconst elapsedTime = Date.now() - startTime;console.log('Elapsed time: ' + elapsedTime); // this printed -7 seconds (or sometimes +7 seconds from what I expected)In this specific case, I disabled time synchronization on the VM: