Unix tools
Created: 2016-02-16 16:29:39 -0800 Modified: 2023-12-15 15:46:50 -0800
GENERAL
Section titled “GENERAL”Misc stuff
Section titled “Misc stuff”- “usr” stands for “Unix System Resources”, not “user”. 😜
Terminals with spammy output
Section titled “Terminals with spammy output”I don’t know where else to put this, but ctrl+S will usually freeze the terminal’s output so that it doesn’t spam so much, then pressing ctrl+C will let you terminate it without having to fight for priority. Afterward, you may need to press ctrl+Q to unfreeze the output. Tenbroya shared this tip with me.
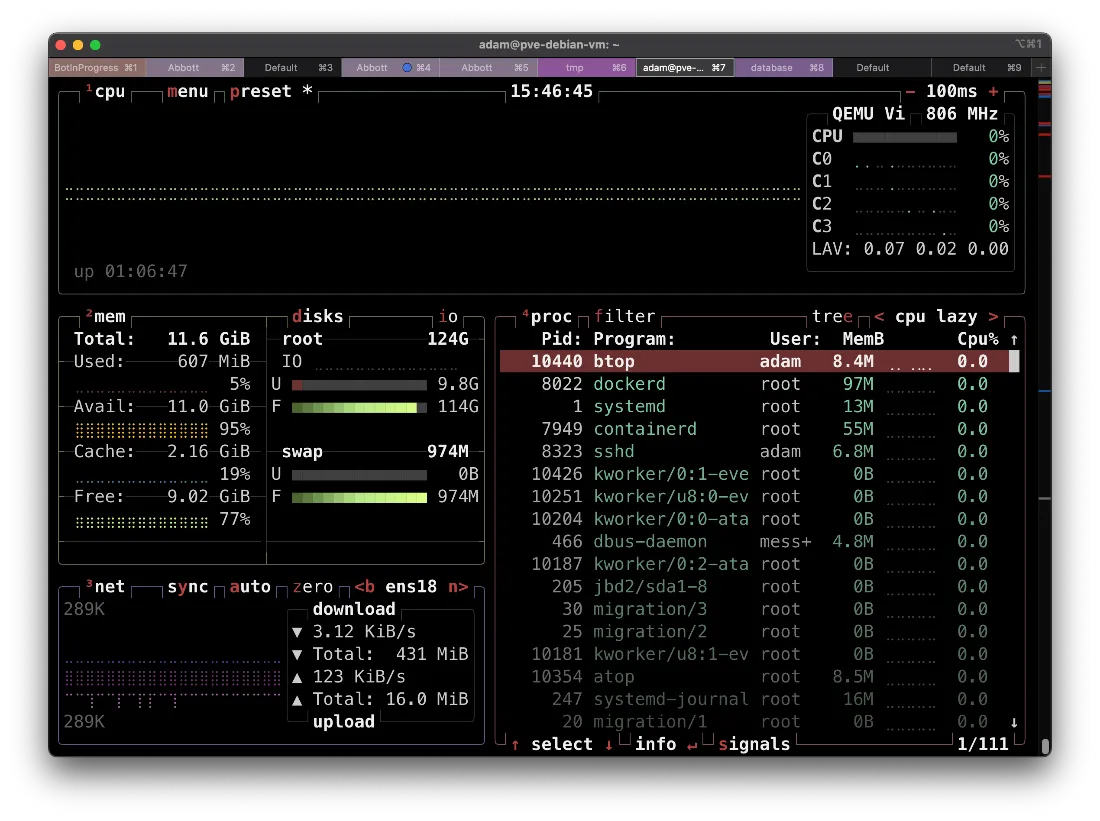
This is useful for seeing CPU/memory usage across processes/threads
- ”$ htop -d 1” to increase the refresh rate (X is in tenths of a second)
- Shift+H: collapse processes so that they don’t show separate entries for each thread
- You can press tab to go to the I/O section.
- You can see network and disk I/O by pressing F2, going to “Meters”, and adding network and disk I/O to the second column.
- Alternatively, use btop for some cool-lookin’ charts.
Schedule something to run in a certain amount of time.
- Run something in 5 minutes:
- at now +5 minute
- It’ll then prompt you for some commands. You can type something like “touch ~/five_minutes_done.txt” and then type ctrl+D
- at now +5 minute
- Alternative way of running something:
- echo touch ./hi.txt | at 1:30pm
- Run something in 5 seconds (reference):
- echo “sleep 5; COMMAND” | at now
- See jobs: atq
- Remove job from queue: atrm job_number
This is useful for stress testing. There’s a Docker image here. Installation/usage (I did these steps from Alpine Linux):
wget http://people.seas.harvard.edu/~apw/stress/stress-1.0.4.tar.gztar -xvf stress-1.0.4.tar.gzcd stress-1.0.4/./configuremakemake installfind . -name “node_modules” -exec rm -rf ’{}’ +
About the curly braces (taken from the man page):
The string {}' is replaced by the current file name being processed everywhere it occurs in the arguments to the command, not just in arguments where it is alone, as in some versions of find. Both of these constructions might need to be escaped (with a ) or quoted to protect them from expansion by the shell.
About the ”+”
[09:20] Bugzorr: The + adds as many files / directories as possible and a semicolon on the end will run the command for each found file / directory separately
[09:25] Bugzorr: For next time; the -delete flag might’ve worked better than the -exec rm command because it implies -depth. That would won’t generate the errors
SCP (secure cp) (reference)
Section titled “SCP (secure cp) (reference)”Connection refused (reference)
Section titled “Connection refused (reference)”SSH probably isn’t running on the server:
- sudo apt-get update
- sudo apt-get install openssh-server
For the client, to quickly set up an SSH key and put it on the server (i.e. this is just for quick testing):
- Client
- ssh-keygen
- Generate into the current directory
- Copy contents id_rsa.pub of id_rsa.pub into ~/.ssh/authorized_keys
- echo ssh-rsa blahblahblahblahblah name@computer >> ~/.ssh/authorized_keys
- scp -i ./id_rsa <rest of command>
- ssh-keygen
Putting a file on a remote machine
Section titled “Putting a file on a remote machine”Basic (no SSH key needed):
scp file.txt user@ip_address:/home/user/destination/
SSH key specified:
scp -i B:CodeJavaScriptlearningawsFirstkeypair.pem a.txt ec2-user@52.36.170.141:/home/ec2-user
Getting a file from a remote machine is basically the same general way
Section titled “Getting a file from a remote machine is basically the same general way”scp root@104.236.198.88:/root/BotLand.zip ./
I couldn’t figure out how to get directories with spaces in them, so if that happens to you, just move the target file first to a directory without a space.
Note: actually formatted for AWS:
scp -i B:CodeJavaScriptlearningawsFirstkeypair.pem ec2-user@35.163.71.233:/home/ec2-user/b.txt ./
Caveats:
- On Windows, you can’t seem to specify paths with “C:” in them, otherwise you’ll get an error that says “ssh: Could not resolve hostname c: Name or service not known”. I fixed this by just always using relative paths. You can further improve this by just using “CD /D <absolute path to folder>” right before using a relative path.
- You cannot use SCP just to create folders on the target machine like you can with “mkdir -p”, so you should use SSH just before it, e.g.
ssh -i D:CodeJavaScriptlearningawsFirstkeypair.pem ec2-user@52.36.170.141 “mkdir -p hello/world”
Note: ideally you would specify an absolute path.
mktemp
Section titled “mktemp”Make a temporary directory. This is especially useful when saving directly to a variable:
temp_dir=$(mktemp)
chmod 1777 /var/tmp
The “1” will set a bit which only allows the owner of a file to delete it. So when you “ls -al /var/tmp”, you’ll see “drwxrwxrwt” listed.
If you try to use a private key file via “ssh-add” and you see an error that says “WARNING: UNPROTECTED PRIVATE KEY FILE!”, then you should probably do “chmod 0600 <file>“.
Changes owner of a file. This is useful if you had to copy a file from another user’s home folder on your machine.
sudo chown adam <file>
“curl -X POST” will force a post request so that you don’t need to provide an empty ‘data’ argument like this: curl —data "" url.com
“ls -h” will print human-readable file sizes.
Apparently some people will alias “ls” to “ls -al” so that you don’t need to type something like “ls -alh” every time you want to see human-readable sizes.
$ time <some other command>
This will show how long that particular command takes.
E.g. ”$ time sleep 2” will show a “real” time of about 2 seconds.
Example: sudo -iu bldeploy
- “-u” specifies the user.
- “-i” (lowercase “eye”) specifies that you want to run in an environment similar to if you’d logged in as that user. This will look at /etc/passwd to find out your login shell, then based on the shell will “source” your various profiles, e.g. ~/.bash_profile.
- This is much easier than doing “sudo su bldeploy”, because then you would need to run “bash —login” afterward.
netstat
Section titled “netstat”Use this to figure out what is open on which ports: “netstat -tulnp”. Use it with “sudo” to see the program names.
Continually runs/prints the output of a command:
- Run “ls” every 3 seconds:
- watch -n 3 ls
htpasswd
Section titled “htpasswd”This is installed via apache2-utils (reference). With this tool, you can generate htpasswd files for use in authentication. These files can technically be shared publicly because they’re salted/hashed passwords.
To generate a new file:
htpasswd -n -B -C 20 bldeploy
-n: display results on stdout
-B: use bcrypt (very secure)
-C: set computing time used for the bcrypt algorithm. Higher is slower but more secure.
bldeploy: the username to generate the password for
After doing this, make sure to clear your Bash history!
To verify a password that you’ve set:
- Save the htpasswd file as something (e.g. just a file named “p”)
- htpasswd -bv -C 6 ./p bldeploy <password from the generation step>
sed (stream editor) (reference)
Section titled “sed (stream editor) (reference)”Basic usage to replace via regex in a file:
sed -i 's/original/new/g' file.txt
Note: on macOS, you need two apostrophes after “-i” like this (reference): sed -i '' 's/foo/bar/g' "test.txt"
- Similarly, you can use the regex you might be used to with
-ron macOS (reference):echo "This123 is 456 a test 789798" | sed -r 's/[0-9]+//g'→This is a test
Basic regex substitution with a string:
Input: sed -E "s/(fail|bad)/success/g" \<\<\< "bad, such fail"
Output: success, such success
In Bash, you can modify the contents of a file temporarily using a temporary buffer (reference), that way you don’t need to output to a temporary file.
dig / nslookup
Section titled “dig / nslookup”sudo apt install dnsutils
You can use “tee” to both output to a file and STDOUT at the same time.
Sample usage:
echo hello | tee hello.txt
↑ Prints “hello” immediately and creates “hello.txt” with “hello” in it.
Cheat sheet: https://gist.github.com/MohamedAlaa/2961058
Great starter configuration for all sorts of things (keybindings, features, etc.): https://github.com/gpakosz/.tmux
- Make sure that when doing “ln”, you use the absolute path to .tmux.conf
Basic searching
Section titled “Basic searching”grep -r -n —color —exclude={bundle*} —exclude-dir={node_modules,.git,dist,logs} “lodash” ./
- -r: recursive
- -n: show line number
- —color: show colors in output
- —exclude: exclude files
- —exclude-dir: exclude directories
- “search term”: the thing to search for
- ./: the directory to start the search in
- -i: case insensitive (off by default, meaning searches are case-sensitive)
Back references (reference)
Section titled “Back references (reference)”I had something like this:
FOO: ‘FOO’ <— I want to find that
FOO: ‘BAR’ <— I don’t want to find that
BAZ: ‘BAZ’ <— I want to find that
This involved using a backreference:
grep -E “(w+): ‘1” ./main.js
The “-E” is to use extended regex
Omitting results
Section titled “Omitting results”“grep -v” inverts all of the matches. For example, if you do a search and it returns 1 result from DirA and 100 results from DirB and you only care about DirA, you can do
<original grep command> | grep -v DirB
Getting colorful results by default
Section titled “Getting colorful results by default”You used to be able to set an environment variable that would add “—color=auto” to every grep command, but they deprecated that. Now, you have to make an alias that has the option specified by default:
alias grep=“/usr/bin/grep —color=auto”