Google Slides
Created: 2017-09-14 13:04:30 -0700 Modified: 2020-06-08 13:08:10 -0700
Vizio-like diagrams
Section titled “Vizio-like diagrams”I used draw.io, which connects to Google Drive.
Free-to-use images
Section titled “Free-to-use images”Highlighted code
Section titled “Highlighted code”I just copy/paste from Visual Studio Code, make the background color transparent, and pick a monospaced font.
Images with transparent backgrounds
Section titled “Images with transparent backgrounds”You can’t just drag and drop the image onto Slides; you have to use Insert —> Image and it’ll work.
Diagonal lines appearing when presenting on Chrome (reference)
Section titled “Diagonal lines appearing when presenting on Chrome (reference)”Just disable hardware acceleration (settings —> advanced) and relaunch Chrome.
Delaying animations
Section titled “Delaying animations”If you want something to fade in automatically with a delay of 2 seconds and an animation time of 0.5 seconds, you can sort of achieve this with two animations:
- Appear (After previous) - set animation time to 2 seconds
- Fade in (After previous) - set animation time to 0.5 seconds
Fading the background like this…
Section titled “Fading the background like this…”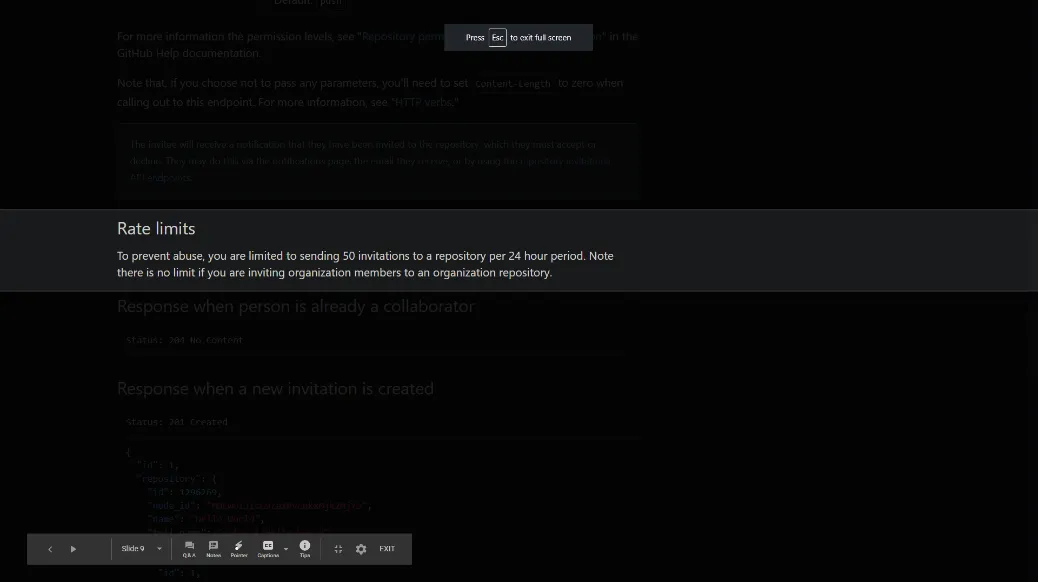
I just added two rectangles over the parts I wanted to obscure with a custom hex color of #000000d8, then I animated them fading in.
Note that for text like this, I do have a border on those rectangles to sort of highlight the text.
Hide presentation toolbar while presenting
Section titled “Hide presentation toolbar while presenting”
I wrote this snippet to do this automatically, that way I can keep closing/reopening the presentation and it’ll keep hiding the presentation bar:
setInterval(() => {    const iframe = document.querySelector('.punch-present-iframe');    if (!iframe) return;    const innerDoc = iframe.contentDocument ? iframe.contentDocument : iframe.contentWindow.document;
    const nav = innerDoc.querySelector('.punch-viewer-nav-v2');    if (nav) nav.style.display = 'none';}, 1000);
setInterval(() => {    const iframe = document.querySelector('.punch-present-iframe');    if (!iframe) return;    const innerDoc = iframe.contentDocument ? iframe.contentDocument : iframe.contentWindow.document;
    const nav = innerDoc.querySelector('.punch-viewer-nav');    if (nav) nav.style.left= '-5000px';}, 1000);
After doing this, press “L” to access the laser pointer.
Changing colors of lines
Section titled “Changing colors of lines”First, draw the line, then select the drawn line; you can’t seem to change the color before drawing the line.
Troubleshooting
Section titled “Troubleshooting”Bullet points have weird line spacing
Section titled “Bullet points have weird line spacing”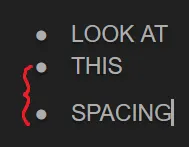
This is fixed by putting the cursor on the line with “THIS” written and choosing Format → Line spacing → Remove space after list item:

Then, if the lines are too close together, put the cursor on the line with “THIS” again and choose Format → Line spacing → 1.15 (or whatever the others are set to)