Skip to content
- Magic wand tool: press W for “flood select”
- Drawing individual pixels
- Press “Y” for the Pixel Tool
- (in the UI, this is a sub-menu of the Paint Brush Tool (B))
- Hold ⌘ to erase
- Extract a sprite (including transparent pixels) to a new layer or file
- Select the sprite with the Rectangular Marquee Tool (M)
- Make sure the layer with the sprite is selected. If it isn’t, Copy won’t be enabled, just Copy Merged.
- Copy the sprite.
- Use the Move Tool (V) to move it
- Extract a sprite (including transparent pixels) to a file
- Add the “Slice” tool to the toolbar
- Draw a slice rectangle
- Enable Window → General → Slices to see the slices you’ve taken
- You can now save individual slices or all of them at once
- Note: you cannot use this to extract the sprite into a new layer.
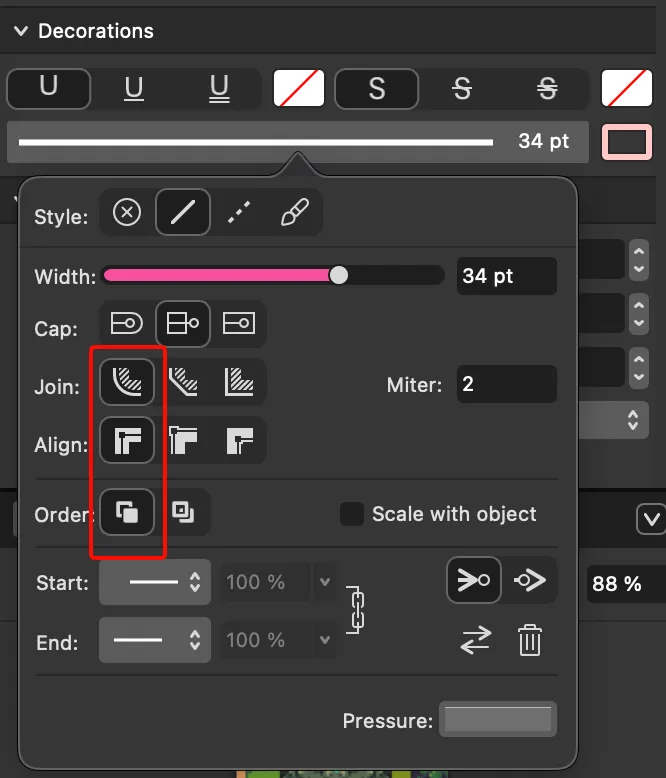
- Outline text (reference): simply select your text and go to Window → Text → Character (⌘T) and pick the outline color and width under “Decorations”.
- These settings are good for making text that looks like this:
- Wrapping text: the kind of wrapping I usually want is for the words to wrap within a text box as you resize its bounding box, not for the text to zoom in or out as you resize the bounding box. This is simply called “Frame Text”. If you accidentally made “Artistic Text”, simply right-click your text box and click “Convert to Text Frame” (if this doesn’t show up, select the “Move” tool first by pressing “V”, then right-click).